July 29, 2011

A SPECIAL BIRTHDAY

Happy Friday all!!! I am so glad it is Friday - I am ready to spend some time with my husband :-) I feel like we have been high fiving in the doorway as we both are rushing around to and from work, kids events, errands, etc.  I am teaching tomorrow but Sunday we are going to take the boat out and have some fun on the lake, and I am very much looking forward to that!!! Saturday my daughter is also participating in a very special birthday event for one of her best friends - a Quinceanera.  This is a special party that is celebrated in the Hispanic culture for girls who turn 15.  Sort of like a sweet sixteen party :-)  So, Kayla asked me if I would make her a card (of course!) for her birthday, and so I decided to use one of the fun stamp sets I purchased from our Spanish catalog.  Many of the sets are the same, just the sayings are in Spanish; however, there are some sets we don't have and this is one of them! It is specifically for this special event, and so it was perfect for making the card!  My daughter's dress is gorgeous - it is coral in color with sparklies all through it, just a beautiful dress! The birthday girl is wearing a white dress with coral accents, so I thought our new in-color Calypso Coral was perfect! This is a square card, which is probably my favorite size card to make.  I used the new patterned paper called Domestic Goddess, I just loved the pretty flowers and colors of this particular pattern! I used my Scallop Trim border punch on both sides as well as the patterned paper strip going across the middle of the card. All the images are from the stamp set Quinceanera, which can only be found in the Spanish version of the catalog - if you want to see it, you can click on the image in my sidebar the right, and it will take you directly to the catalog :-) I stamped the pretty birthday girl in stazon, then accent colored the dress with my Calypso Coral stampin' marker.  I used my two-way glue pen and my dazzling diamonds glitter to make the dress and crown all pretty and sparkly just like the dress she is going to wear!  Can you see how pretty it looks? If you click on the pic it should make it bigger - it is soooo sparkly IRL, I just love it!  The ribbon is the new Calypso Coral Ruffled Ribbon, which is available in all our new in-colors.  It is soooo pretty! The sentiment is also stamped in Stazon, punched out, and mounted on a Calypso Coral scallop circle, then popped up with dimensionals.  I am very happy with how this turned out! However, since this is a special card, I also had to do the inside because I wanted the card to look finished, lol!
So, here is a pic of what I did to the inside of the card! I stamped the crown, flowers,  and the word in Stazon, and again accented with the Calypso Coral marker, but I also added some rhinestones to the crown and the flowers on the bottom as well! I think every girl deserves a little bling, don't you *wink*  so, there is plenty of room left for Kayla to write her secret birthday message to her friend (I was not allowed to see it, lol) and my daughter loved the card as well! So, that means I was successful because if I can get the 14-year old stamp of approval, I am good! If you like this set, you can order from the Spanish catalog in my online store as well! Or, you can contact me and I can assist you in putting your order in! I will leave the recipe below so you have all the pretty ingredients in one spot, and again, if you have questions, please feel free to ask! I am now off to prep for tomorrow's canvas class, which is one of my favorite classes to teach! I hope you all have a fabulous weekend and get some time to be creative!
Card Recipe:
Paper - Calypso Coral, Whisper White card stock, Domestic Goddess Designer Series Paper
Stamps - Quinceanera (from the Spanish version of our catalog)
Inks - Calypso Coral stampin write marker, Black Stazon ink
Tools - Scallop Trim Border Punch, 1 3/8 inch Circle punch, Scallop Circle punch, mat pack and paper piercer, two-way glue pen
Accessories - Dazzling Diamonds glitter, Calypso Coral ruffled ribbon, basic rhinestones

July 28, 2011

OPEN HOUSE EVENT!

Good morning all! I have been CRAZY busy around here getting the kids ready to go back to school, two workshops, classes, and yes, I had my Open House :-) We had soooo much fun so I thought I would share the pics as well as the cute make n' takes they did!  This first pic is of the display table of items made with items from the new catalog!! Sorry for the glare - my cards are in plastic pockets so I can switch them out, lol! I have to say, my customers LOVED looking at everything on this table, I think it helps when deciding what you want from the new catty to actually see it used - I know that happens to me anyway, heehee! I had fun making all of these things - the little houses you see in the corner was actually a kit I got at Convention, and I had a great time putting it together!
Here is a closer look at the little village I made:  isn't it cute?  I added some extras of my own although the kit came loaded with really everything I needed to make this! You probably can't tell but I put my address on the one house, lol!  I just love all the pretty details although cutting out all those little circles for the roof was not as fun as I would have liked, heehee! But, it sure was worth it seeing how awesome they all look on roof - just like shingles only way better!!  I plan on making another one of these for my house at Christmas time - can't you see cute little gingerbread houses that make up a village?  I can't wait until I can get my husband to cut the wood for me so I can play around with this idea - I just love the thought of a gingerbread village :-)
These next few pictures are of the cute little make n' takes they all got to make during the Open House - they really seemed to like them and they all used new sets and colors from the new catalog so it was a chance to get to play with some of the new products!!  I am not going to list all the fun things we used, but if you have a specific question, you know you can ask and I will get right back to you!  These are little 3x3 cards - so perfect to slip in someones lunch or include in a gift bag! These are one of my favorite size cards to make and I use them all the time! Here is the third one!  I just love the bright, cheery colors of all three and my guests also really enjoyed making them as well! In fact, one of then told me they were nice, happy cards, lol! Just the kind of cards I love to make :-)  Happy cards for happy stampers, right??  I would like to share a few pics of the wonderful ladies who shared this fun event with me - they are so used to me having my camera out all the time, now they pose, lol!! I love it though - they are all good sports and wonderful friends - the best part of what I do!!! I have made sooo many great friends through stamping, and I cherish each and every one of them!  
This first picture shows two of my favorite peeps Maggie and Lori, who are diligently stamping away at the make n' take table, lol! I love these ladies - they are so much fun to be with! Maggie actually just joined my team of stampers - I am sooooo excited for her because she truly loves to stamp and scrapbook, she always has a smile on her face!  I am looking forward to all the great projects she has planned already - the woman is amazing!!! This one is of my friend Teri who is working on the scavenger hunt game - it was such a great game; they had to use their catalogs to find the answers! Every one who came to the Open House played all the games, and told me they really enjoyed them!  
I also got this great picture of my new friend Sarah - isn't she beautiful?  I just love her pretty smile! Sarah was the winner of one of my grand prize door prizes - she won a whole set of the clear blocks and the carrying case! Needless to say she is thrilled! She is a new stamper, and has already fallen in love with all the fun things you can do with stamps!  All in all, it was a great day filled with lots of laughter, teasing, chatting, eating, and of course stamping! I loved every minute of it, and am already looking forward to my holiday Open House when we get to do it all over again :-) I hope you enjoyed what I shared, and if you are local, you are more than welcome to come to the next event I hold - I sure would love to have you there! Now, I am off to prep for my class tonight but I will be back tomorrow to show you the fun frame and gift card we are making tonight! Until then, happy stampin'!

July 22, 2011

GIFTS FOR SPECIAL FRIENDS

Happy Friday everyone!!! I am busily getting ready for my Open House tomorrow and I have TONS to do today so I need to get going! First though, I wanted to share two of the gifts I made for two  lovely ladies who I wanted to thank for being such wonderful friends! They are both little shadow boxes that you can either hang or just stand on a shelf or wherever.  This first one I made for my sweet friend and sideline Christie whose tough Jersey exterior tries but can't hide a good heart the size of Texas underneath :-) Christie is a wonderful friend,  and I love being around her because she always makes me laugh, and reminds me not to take everything so serious - love that girl!! I made this one with butterflies because she LOVES LOVES LOVES them - even more than me and that is sayin' something, lol!! Lots of texture on this project as well - the butterflies are cut out with my Big Shot die and then embossed with the Finial Press embossing folder.  The patterned paper is actually from a hostess offering called Cheerful Treat - it's a whole pack of 12x12 paper and I think it is YUMMY!!! I used my Eyelet border punch on it to give it some visual interest and then added that pretty lace on top which is punched with our new Lacy border punch out of Rose Red.  The background is Wisteria Wonder and is stamped with the French Filigree background stamp, one I have been using a lot lately - I just love how elegant it looks!  The half scallop circle was also cut on the Big Shot and embossed again with the Finial Press folder.  And, see that cute circle the sentiment is stamped on?  It comes from the new Big Shot Die called Perfect Pennants - love, love, love this new die!!!  I threaded some of the pretty new Wisteria Wonder ruffled ribbon through the edges and just love how it makes it pop!
This second frame is for my sideline Cathy, whom I have never actually met in person, but who was so very sweet and helpful to me in recent months.  So, I wanted to show her how much I totally appreciate her! She is EXACTLY the reason why I love Stampin' Up! soooo much - without a thought, she was there to offer her help and friendship and a fellow demonstrator - isn't that awesome??!!!  So, thanks Cathy, you ROCK!!!!  Her frame has a similar layout but is made with completely different papers, colors, and embellishments.  I used the Paisley Petals patterned paper as my color chart, with River Rock as the base, which is stamped using the French Filigree background stamp (see, I told you I love it, LOL!)  I cut a Top Note Die in half and embossed it using the new Houndstooth embossing folder, which I think look amazing! I did the same type of  design for the sentiment, but used Pear Pizazz ribbon this time.  The pretty flower is made using the Fancy Flower punch, some pretty Victoria lace ribbon, and a vintage brad, all sprayed with shimmer mist - sooooo pretty! And, I did add lots of pearls because it seemed to need some pretties *wink*  I hope she likes it - she was not at Convention so I sent it home with Christie, since they live close to each other.  My favorite thing to do is stamp and make things for friends, customers, family, etc.  It brings me a lot of happiness, and that is why I stamp!!!!  If you have to have any of the items featured here, you can purchase them in my online store or you can contact me and I will be happy to place an order for you!! And, don't forget:  the $99 kit special is still going on but it ends this month, so if you have ever thought of being a demonstrator, now is the time - I know I would LOVE for you to join my team :-)  Now, I am off to get ready for tomorrow's Open House - if you are local and would like to come by, please do - this is a  FREE event showcasing lots of new catalog items, and we are going to do make 'n takes, product demonstrations, play games, and yes, there are prizes to win as well *wink*  Check out my website and look on my events calendar for all the details and come on by - I would love to see you!! Have a fabulous weekend everyone - and, I hope you take some time to create something :-)

July 21, 2011

MY SWAPS FOR CONVENTION

Good morning all!!! It is sooooo HOT here in California already - it is 7:30am and already hitting 80 - I think I am going to MELT, ugghhhhhhhhhh!  So, I will be staying in my stamp room today, lol!!!!  I thought today I would share the two swap cards I made for Convention.  I only made two different ones this year since I decided last minute that I was going BUT I think they both turned out cute :-)  The first one is pretty simple (well, they both are really) but I love how it turned out! I used some of the new yummy designer series paper called Paisley Petals - this paper is GORGEOUS, I just love it!! I used the stamp set called Precious Butterflies which is actually a Hostess Set.  Isn't it purdy??!  You can earn this set FREE by hosting a workshop or placing a $150 order - so, what are you waiting for?? *wink* I love all the different sized butterflies you get in this set! I actually stamped directly onto the patterned paper and I quite like the effect! I also used my Eyelet Border punch along the edge of the paper, and added some of the pretty Victoria lace ribbon at the top.  See, pretty simple, right? But, I think it would still make someone smile to receive this one in the mail, don't you?  I am learning that to be pretty, a card does not have to have a million layers on it, lol! But, I still like to make those kinds of cards too *wink*  Here is the recipe for this card - very quick and easy!!
Card Recipe:
Paper - Crumb Cake card stock, Pretty Paisley Designer Series Paper
Inks - Not Quite Navy, Peach Parfait, Old Olive classic inks
Stamps - Precious Butterflies (hostess set)
Tools - Eyelet border punch
Accessories - Victoria lace ribbon
This second card is actually ALMOST a one layer card.  The base of this one is Elegant Eggplant, not a color I normally reach for.  BUT, I wanted to use the new Wisteria Wonder in-color and they go beautifully together.  I took the Wisteria Wonder card stock and embossed it on the Big Shot using our brand new Houndstooth embossing folder - loooovvvve it!!!!!  It makes this card really pop! Then, I used a piece of Rose Red card stock and made that pretty lacy piece using our new ribbon border punch called Lace Ribbon Border punch.  Now, this punch is quite a bit larger than our other border punches so it takes a little getting used to, but once you figure it out, you are punching happily away making beautiful borders for your cards and scrappy pages! I just love it - I mean, I punched 100 of these for my swaps, lol!!! The stamps I used are actually all different - the Baja Breeze circle is stamped with the French Filigree background stamp and the sentiment piece is actually stamped with the Fine Flourish background stamp.  I just love my background stamps, I think they add that perfect texture and dimension that cards need.  The quotation is stamped right over that background and it is also from the Precious Butterflies stamp set.  Such a great versatile set, so much you can do with it. I did add a little Rose Red seam binding ribbon and some small pearls to give it some pretty accents - I mean, every card should have some bling, right, lol??!! Here is the recipe for this card!
Card Recipe:
Paper - Elegant Eggplant, Wisteria Wonder card stock
Inks - Baja Breeze, Wisteria Wonder, Rose Red classic inks
Stamps - French Filigree, Fine Flourish, Precious Butterflies (hostess set)
Tools - Big Shot, Houndstooth embossing folder, 2 1/2 inch Circle punch, Designer Label punch, Lace border punch
Accessories - Rose Red seam binding ribbon, basic pearls
I just love swapping and I received some beautiful swaps back this year so I am excited about that!! If you like any (or all, heeheee) the products you see here, you can order them in my online store or contact me and I will be happy to help you place an order! I hope you liked seeing my Convention swaps- I sure liked making them :-)  I will be back tomorrow to share some of the fun gifts I made for my Convention buddies, but until then, go and stamp something, it is the BEST kind of therapy :-)

July 19, 2011

MORE FUN CONVENTION PICS

Hi there!! Been so busy this morning that I almost forgot to do my Convention Post - YIKES!!!  I have so much I want to share including one of my Convention swaps! Sooooo, here goes! This first pic I really should have shared yesterday, but I forgot.  It is the theme of Convention - Grow - which I love because it can mean many different things and apply.  The gentleman in the picture is Rich Jutkins, President of Stampin' Up! Let me tell you, every time I hear this man speak, he brings me to tears, and this time was no exception! He is a very dynamic speaker and speaks from the heart, which I am sure is why he is such a great fit for this company!  He is amazing, and I am so glad we get the chance to hear from him at every event!  So, the next pics I want to share are from the product inspiration area and I will tell you, I was very inspired! I am not going to go into detail on these, just want to post them for you to enjoy!
 The displays at Convention are always amazing and this year I thought they were the best I have seen in the four years I have been a demonstrator! I could have stood and looked at these all day! Here are a few of  the cards, and home decor items that were in one display - you know I just had to share those butterflies since they are a favorite of mine, right??! I was definitely on the look out for owls too, lol! And yes, I got a few which I will also share *wink*


 Aren't these flowers beautiful??!! I am in awe of how big they are - just love them!! Lots of our new designer series paper in these displays, and I have to say, this years paper selection for me is just awesome, I love it all! Of course, these flowers DO use a lot of paper, but WOW! I think they are totally worth it - can you imagine a display like this in YOUR crafty area??  And, look at that whole drawerful of beautiful designer fabric - I sooooo want this in my house, lol! Just pure yumminess!  I loved the super cute nursery
suite display, especially the bird cage with those adorable birdies! This new suite is full of cuteness, and I want an excuse to play with it - anyone having a baby who needs a card??? ROFL - I would LOVE to make something out of this :-)  And, if you look at the next picture (below) you will see that I indeed DID find some owl projects, LOL! Just love how they decorated our really fun Big Shot Candy Wrapper - soooooo fun!  I can see these as wonderful little goodie holders at a shower, birthday, whatever you are celebrating! They are soooo versatile and really easy to put together - that is why I just LOVE my Big Shot :-) So many fun projects you can do and pretty quickly too!
 I fell in love with the Domestic Goddess Suite as soon as I saw it in the new catalog - I had ideas spinning through my head with fun ways to play around with this to make all kinds of cool projects! So, when I saw this awesome display showcasing the product line, I was thrilled! It is super fun, bright, cheerful, and totally makes me smile!  Check out the giant spool behind that front card - I just think that is the coolest and wish I knew where to find big ones like that - I would have lots of them in my crafty area!


Then I saw this fabulous wagon - I still have one from when my kids were younger and I just love this idea of displaying our starter kit inside of it, all jazzed up and full of product! I would have no problem at all pulling this wagon of goodies home with me - I just figured if I took the display one, they might notice, heehee!  Such a cute idea, I totally love the burlap sacks!  Wouldn't it be nice to wake up one morning, walk outside, and see one of these cuties parked there just waiting for you to dive in and check it all out??!!  And, right now, with the $99 starter kit Stampin' Up! is offering, you can get YOUR starter kit delivered right to YOUR front door, although it will come in a big brown box - but hey, it will be all yours! You have to do this before the 31st of July though because that is when the special will end! If you are interested in getting started as a demonstrator, contact me and I will totally help you out - I would love to have you as part of my team!  Being a demonstrator has brought great joy to my life, and I love to share this with others so they can experience some of the wonderful things that I have in the last four years :-) 
This next picture showcases the yummy designer series paper that is offered as a hostess special - I actually ordered some with my last order, and I have to say the pictures of this paper do not do it justice- it is pure yumminess, with bright, fun colors that will work on all kinds of projects! I have some ideas already and can't wait to get them stamped and ready to show you! Next is a beautiful display with a handmade wreath featuring flowers created using our fun
patterned papers and some very cute card projects that celebrate Spring and Easter.  I just love how happy this display is - soooolol! So, that is what I have to share with you all today - I hope you are enjoying all the super cute and fun projects from Convention! Tomorrow I will share my swap cards and some more product displays - until then, happy stampin' and do something fun today :-)

July 18, 2011

MY BETTER LATETHAN NEVER CONVENTION POST :-)

 Hello all!! WHEW!!! I am home from Convention and all I can say is AMAZING!!!!!  I had very good intentions of posting each day I was there but I was getting up at 6am and going to bed at night at 12 or 1am so no time for posting AT ALL!! I managed to make a few FB comments, but that was it! Sooooo, I thought I would share a few highlights over the next few days to make up for it :-)  First off, I wanted to share that I EARNED THE INCENTIVE TRIP TO DISNEY WORLD FOR THE VERY FIRST TIME!!!!  I am soooo very excited, I got to walk across the stage for the very first time at Convention, earned FREE stamp sets, got some great new pins of recognition, and I get to take my family on a rockin' free vacation!!! Here is the first picture - it is Jen, Kimberly, and me- my sideline andupline who also earned the trip! Can you tell how happy and excited we all are, lol?!!!  It was so very cool to join these two talented ladies up on stage!
Here is a picture of my badge that I got to wear showing all the neat things Stampin' Up! gives you to highlight your achievements of the year.  Believe me, some of these ladies have like seven of those little tags under their badges and a ton of little pins, but hey, I was THRILLED to my toes to wear the ones I got :-)  It is just amazing how this company makes you feel sooooo special with everything you do - from each and every little milestone you achieve, they are right there with you cheering you on!! It is sooooo very cool to be part of something as AWESOME and FABULOUS as Stampin' Up!  Okay, so one of the BEST parts of Convention are the other demonstrators there - I have made some wonderful friends over the last four years through these events and this year was no exception! I roomed with three other members of my group under Kimberly, although I had never met any of them as they all live in Colorado Springs.  Well, let me tell you, I have NEVER laughed so much as I did with these three fun, warm, and giving ladies!! I made three great friends and I will cherish them forever!!
Here are some pics of on Awards Night with our other friend and sideline Christie who is the beautiful lady in the very middle!! My room-mates are Amanda, Donna, and Josie - aren't they all just gorgeous??!! I love you ladies!!!! Here is another shot of Amanda, Donna, and I - Josie was off getting into trouble I am sure, lol!!!!  It felt good to laugh as much as I did - they are the best roomies a gal could ask for and I look forward to seeing them in January at Leadership (hint,hint)!  So, I am guessing you would like to see some of the fab projects SU! shared with us??  Oh, and the new mini products ladies - hold on to your panties, they OUTDID THEMSELVES AGAIN!!!  I am sooooo thrilled with the new mini - can't wait to be able to share the actual products with you all ! But, what I can do is share some of the fun projects made with our new stuff so here are a few!!!
 This first projects is made with some of our fun new holiday sets from the upcoming mini (available for demos to preorder out of on August 1st and customers can start ordering September 1st). It is a fun little gift package of shortbread cookies that are decorated using the new cookie press stamps we are going to have - oooh, I cannot WAIT to get my hands on these!!!
Here is another shot of the cookies themselves - aren't they just the cutest??!!
I just love that we can make custom cookies using stamps - what a fabulous gift this will make!!!!  Although, they are so very cute, you may not want to eat them, lol!!!  However, since shortbread happens to be one of my ultimate fave type of cookie, I just might have to make the sacrifice and eat one or two *wink*  I mean, if I run out, I can always stamp some more, right?? And, of course I will want to share so there will be LOTS of these cuties made in the Hobson household this holiday season  *wink*                                                                                                           
 Another very cute project that we got to see was these adorable stockings - I just love Christmas and these are sooooo stinkin' CAUTE!!!  I can imagine me making TONS of these to string along my mantle with my families names on them!! So adorable - another MUST have for me (sheesh, I want it ALL, ROFL!!)  Since buttons are a particular weakness of mine, I totally adore these fun stockings - they are traditional and look handmade, everything I totally love about Christmas!  Ahhhhh, another one that will have to be MINE all MINE come August 1st :-)  Hurry up and get here, lol - I want to place my preorder! Another great perk of being a demonstrator, and one I tend to take advantage of with every new release *wink*
Last, but by no means least is this beautiful Christmas box that YOU can actually own if you sign up to be a demonstrator by July 31st! Yep, if you become a part of my team by the end of this month, not only will you get a fabulous starter kit for only $99, but you will also receive everything you need to make this gorgeous Christmas box FREE!! And, since I am having a get together at my house to make these with the new members of my team, you also get a really fun girls night with me and my new team members complete with dinner and everything :-)  And, just look at this box??!! Don't you want to have one of your very own??!!!!  I would LOVE to have you on MY team so email me  and let's chat - but hurry, this offer is only good until the 31st of July and then it is gone along with the fabulous $99 kit!!!  I for one am really looking forward to putting this beauty together with the fun new members of my team - I am ALWAYS up for a girls night in :-)  Soooo, I have shared some fun stuff today from Convention and believe me, my head is spinning with all the great new ideas and products they shared with us!! I will show a few more fun projects tomorrow so make sure you check back to see what else we got to see at Convention! Until then, I hope you find time to STAMP SOMETHIN' :-)

July 13, 2011

AT CONVENTION AND LOVIN' IT!!!

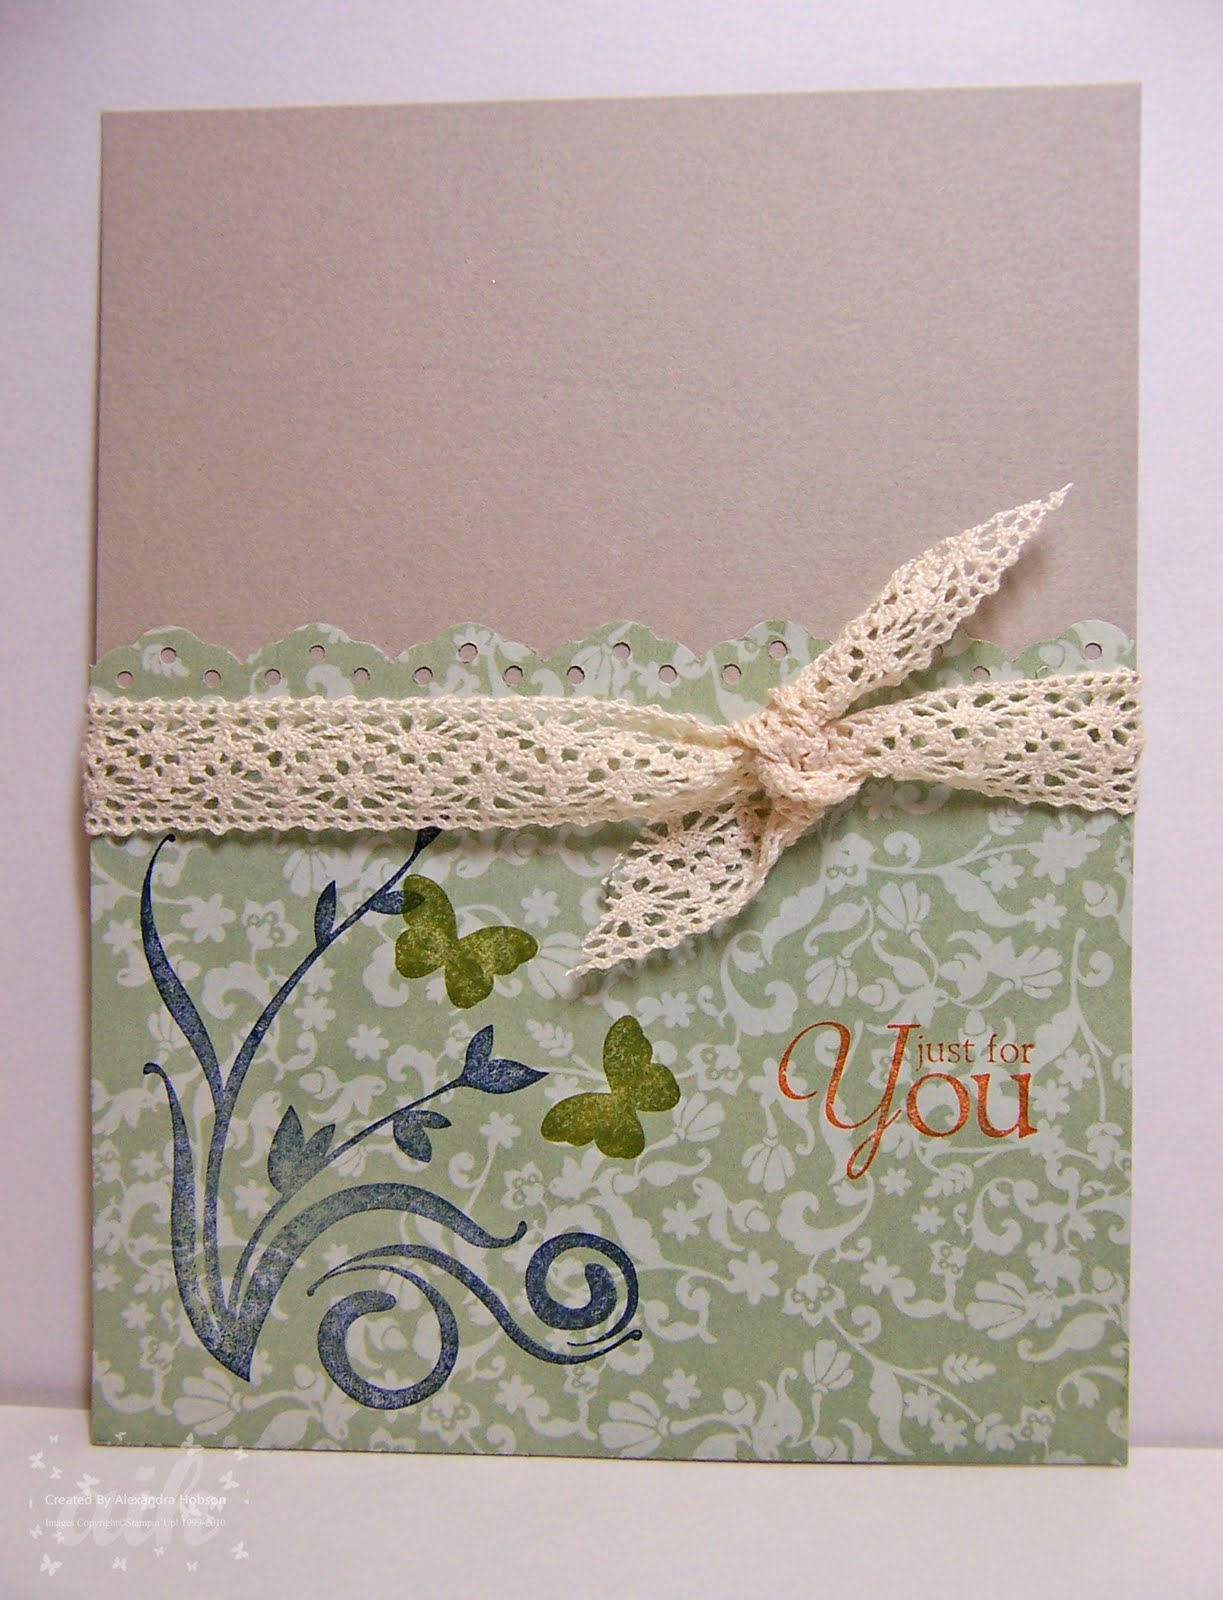
This is a VERY quick post to let you all know that I have made it to Convention and I am taking LOTS of pictures to share with you :-)  I am having a BLAST - can't wait to share with all of you!! And, just so you are not feeling like I left you NOTHING to look at, this is one of the 3d gifts I made for a wonderful friend and team-member that I only get to see at these events - I really hope she likes it *wink* And, I hope you do too! It's a frame shadow box that I made with our new papers, ribbons, and punches! If you have any questions, let me know :-)